Send the request type, manufacturer, equipment model/year, part reference, ratings, quantity, destination, required date, and any drawing or photo notes. The SUVELL team will review the request.
Email: admin@suvell.com
Phone: +86 189 6871 1705
Factory: No.208 Wei 12 Rd, Yueqing Economic Development Zone, Wenzhou, Zhejiang, China
Epoxy Resin Bushing Cracks and Tracking: A De-Energized Inspection Guide
Cracks, tracking, and discoloration on epoxy bushings require different follow-up decisions. This de-energized inspection guide explains what to document before cleaning, when findings need engineering review, and why visual condition alone cannot establish dielectric integrity, remaining life, or a suitable replacement part.
Under the equipment’s de-energized inspection procedure, distinguish surface deposits from carbonized tracking, streaked discoloration, and cracks at the conductor or mounting interface.
Photograph findings before cleaning and refer tracking or significant cracks for engineering disposition using the unit-specific instruction book.
Visual triage cannot establish remaining life or replacement equivalence; the follow-up record needs service history, the approved drawing, and manufacturer part confirmation.
De-energized visual inspection of epoxy resin bushings is a triage step, not a maintenance endpoint. What you find — a crack, a tracking path, or streaked discoloration — determines whether the switchgear can return to service or requires engineering review and potential replacement, but the visual finding alone cannot tell you remaining life or confirm a replacement part without approved drawings and manufacturer evidence. This guide covers how to conduct that triage correctly, what each finding means electrically, and what evidence you need before acting on what you see.
Why Epoxy Bushings Fail the Way They Do
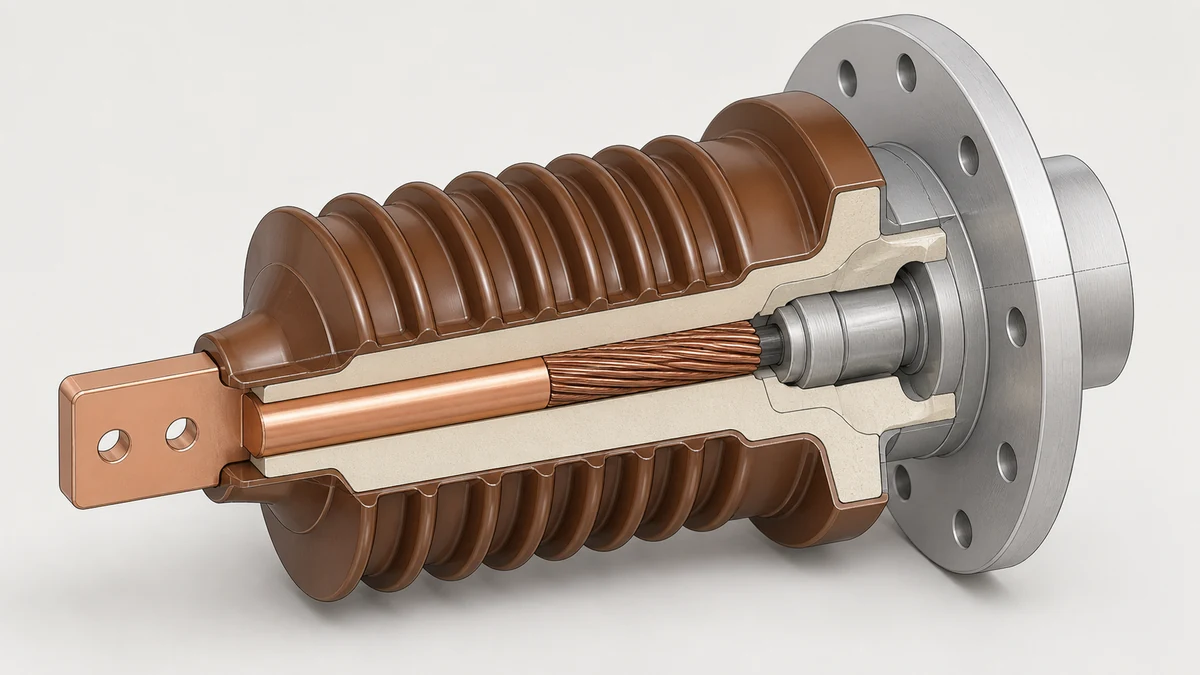
Epoxy resin is the dominant bushing material in medium-voltage switchgear because it combines high dielectric strength with mechanical rigidity and resistance to moisture absorption. ABB identifies epoxy as a primary switchgear bushing material, and the same properties that make it perform well under normal service conditions shape how it degrades when conditions fall outside design limits.
Tracking and cracking are mechanically and electrically distinct failure modes that happen to appear together on the same inspection checklist. Understanding the difference matters because they call for different follow-up decisions.
Tracking is a surface phenomenon. When leakage current flows repeatedly across the bushing surface — driven by contamination, moisture, or a combination of both — it carbonizes the epoxy along that path. The carbon trace is conductive, so it lowers the surface resistance along exactly the path where the next leakage event will follow. The failure is self-reinforcing: each discharge event makes the next one more likely, at lower voltage. Visually, tracking presents as dark, sooty, or streaked discoloration following a line from conductor to ground potential. ABB's instruction book calls out streaked discoloration explicitly as a finding requiring action, alongside tracking itself.
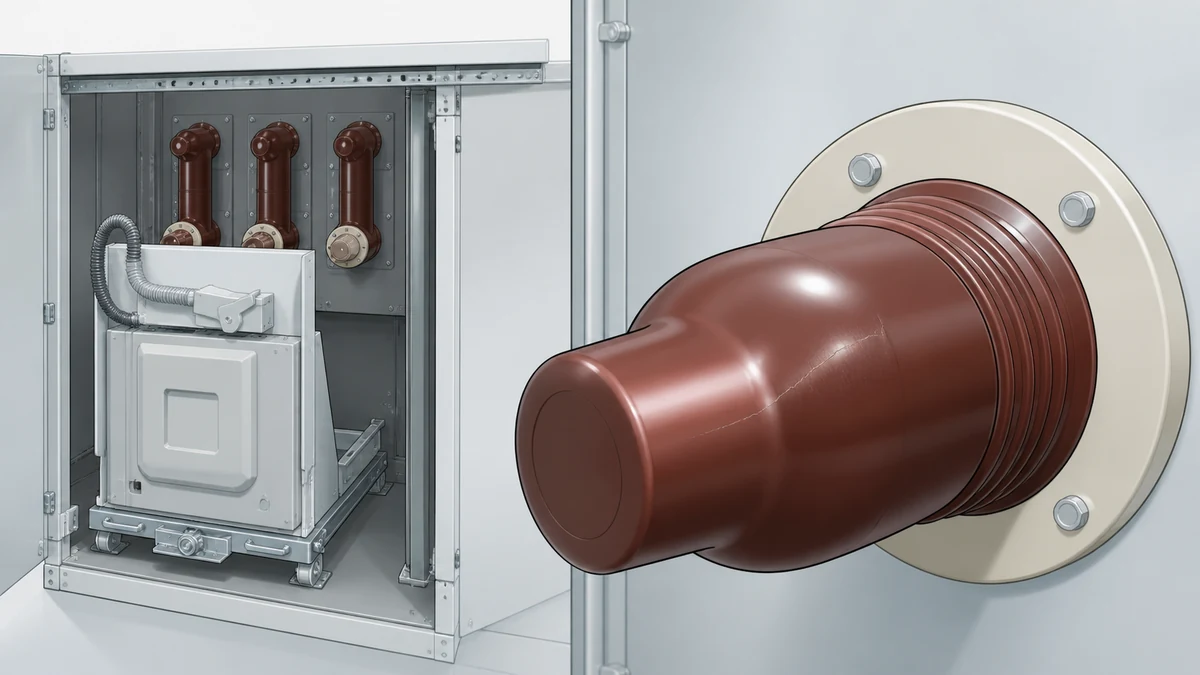
Cracking is a mechanical and dielectric failure mode. Epoxy is brittle relative to polymer or silicone-rubber alternatives. Thermal cycling, mechanical stress at the bushing-to-housing interface, and improper torque during installation all generate stress concentrations that propagate through the bulk material over time. A crack compromises both the mechanical integrity of the bushing and its dielectric barrier. Moisture and contaminants can wick into even a hairline crack, dramatically reducing the effective creepage distance and creating a path for internal partial discharge or flashover.
A third finding — general surface contamination without carbonization — is a precursor state rather than a failure mode. Left unaddressed it leads to tracking; caught early it is resolvable through cleaning. ABB's instruction book includes cleaning as one of the defined actions in the inspection, test, and replacement sequence, reinforcing that surface condition management is part of the normal inspection workflow.
Setting the Scope: What De-Energized Visual Triage Can and Cannot Resolve
Before walking through the inspection procedure, it is worth being explicit about what this type of inspection answers and what it does not.
Visual triage under de-energized conditions can confirm: the presence or absence of surface carbonization, the location and gross dimensions of visible cracks, the extent of contamination, and whether a finding warrants continued investigation or is clearly a hold-for-replacement condition.
It cannot confirm: subsurface crack propagation invisible to the naked eye, the dielectric integrity of a bushing that looks undamaged, remaining service life, or whether a replacement bushing is electrically and mechanically equivalent to the one being removed. ABB's technical note on switchgear bushing materials makes the configuration-suitability point explicitly — material type alone does not establish interchangeability, and a visual finding cannot substitute for the approved drawing and manufacturer evidence needed to confirm a replacement part number.
ABB's instruction book frames this directly: any inspection, cleaning, test, or replacement action must follow the equipment-specific instructions for that switchgear unit. This guide supports the visual-triage step within that framework. It is not a universal maintenance procedure and is not a live-work procedure under any circumstances.
Pre-Inspection Requirements
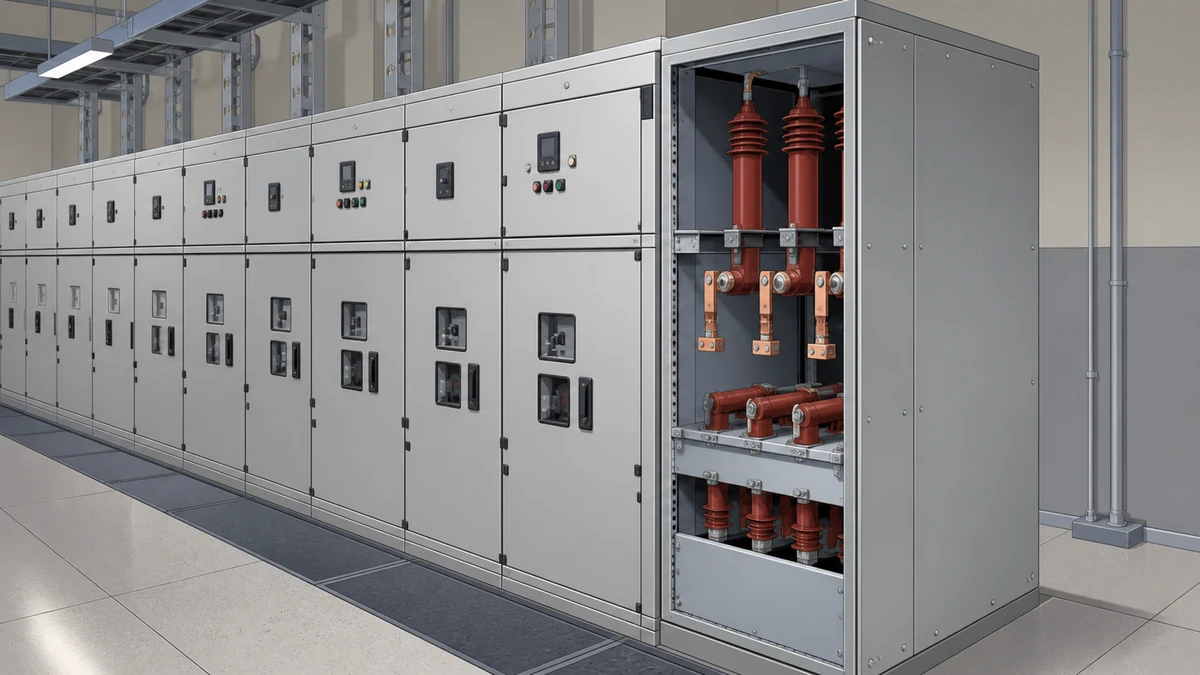
The switchgear must be fully de-energized, isolated, and grounded before any bushing inspection begins. This is a condition of the inspection, not a preamble to it. Verify absence of voltage with an approved voltage detection method on all phases. Ground all accessible conductors. Confirm that all sources — including backfeed — are isolated and locked out per your site's energy isolation procedure.
Gather the equipment-specific instruction book for the switchgear unit being inspected. The visual findings from this triage must be evaluated against that document, not against generic bushing standards. If you do not have the unit-specific instruction book, obtain it before proceeding.
Document initial conditions: unit identifier, nameplate data, date of last inspection if known, and any service history relevant to the bushings (prior contamination events, known overloads, moisture intrusion history). This context changes how aggressively you should interpret marginal findings.
Conducting the Visual Inspection
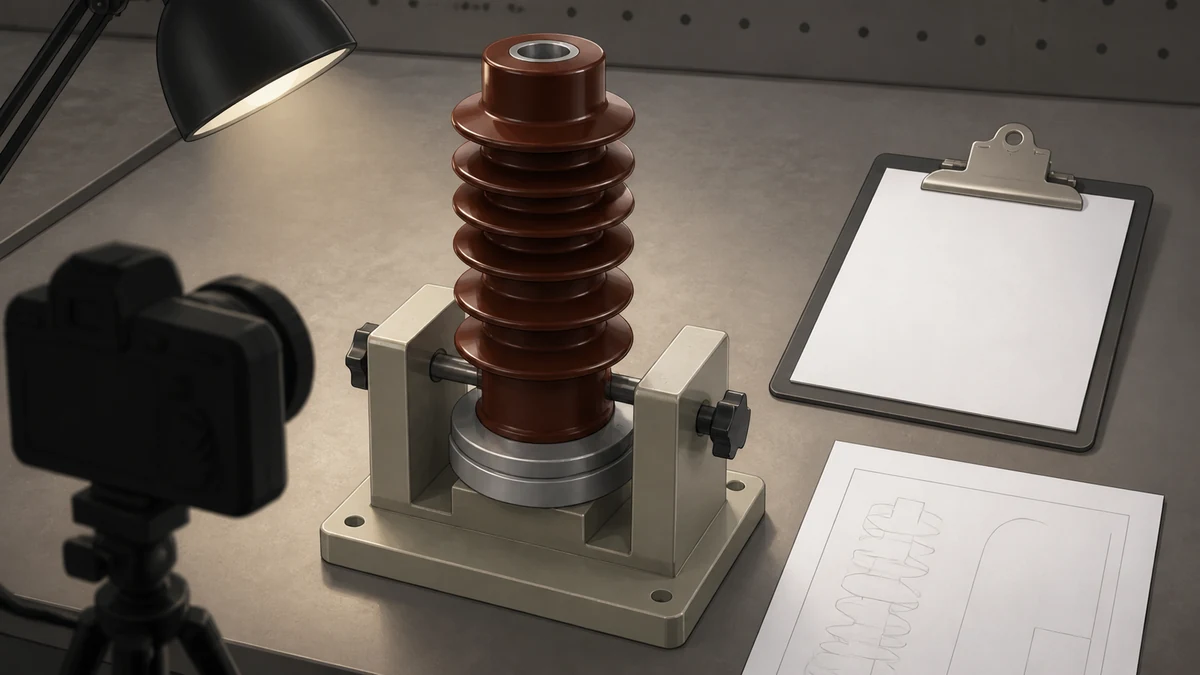
Work systematically across all bushings in the assembly. Inspect each bushing on all accessible surfaces, using adequate lighting. A flashlight at a low angle to the bushing surface (raking light) reveals surface texture changes, hairline cracks, and early tracking traces that disappear under direct overhead illumination.
For each bushing, evaluate the following in sequence.
**Surface condition and contamination.** Note the presence, distribution, and character of any deposits. Uniform dust is lower concern than concentrated deposits along the creepage path. Wet or hygroscopic deposits on the creepage surface are higher concern because they actively reduce surface resistance. Photograph the surface condition before any cleaning.
**Tracking evidence.** Look for dark, carbonized traces following a path from the energized conductor toward grounded metal. Tracking traces are typically irregular and may branch. They do not clean off — the carbon is incorporated into the epoxy surface. A trace that wipes away is contamination, not tracking. If a trace is present, note its extent: confined to a small area near a shed or rib versus running most of the length of the creepage path changes the urgency of the response. ABB's instruction book identifies tracking as a direct inspection finding; a confirmed tracking trace is a hold condition pending engineering review.
**Streaked discoloration.** Discoloration that is not carbon-black tracking but presents as yellowing, browning, or a banded pattern along the creepage path can indicate thermal stress, UV degradation in outdoor or window-mounted units, or partial discharge without full carbonization. ABB calls this out as a distinct finding. It warrants documentation and engineering review even when no crack or full tracking trace is visible.
**Crack inspection.** Inspect the entire bushing surface for cracks, starting at the conductor interface and the mounting flange — both are stress concentration zones. Run a gloved finger along the surface if cracks are suspected but not clearly visible; a crack that is not optically obvious is often palpable. Note the orientation (axial, circumferential, or radial), the approximate length, and whether the crack appears to extend into the bulk material or is limited to a surface layer. Any crack that crosses the creepage path or penetrates to depth is a hold condition.
**Interface and seal condition.** Inspect the bushing-to-housing interface for signs of mechanical damage, deformation, or compromised sealing. A bushing that has shifted in its mounting or shows evidence of impact damage needs evaluation even if the bushing surface itself looks acceptable.
Interpreting and Escalating Findings
Not every imperfect surface is an immediate hold condition, but the bar for escalation is low because the consequence of a missed failure is a flashover inside an enclosure. Use this decision logic:
Any confirmed tracking trace, regardless of extent, is a hold condition. Do not return the unit to service until the finding has been reviewed by engineering and a disposition decision made based on the equipment-specific instruction book.
Any crack that crosses the creepage path, enters the bulk material, or is located at a high-stress interface is a hold condition. Surface-only micro-cracks at the bushing tip that do not cross the creepage path and show no associated discoloration may be documented and monitored, but this determination requires engineering judgment with reference to the applicable instruction book — it is not a field call.
Streaked discoloration without visible cracking or tracking is an escalation finding, not necessarily an immediate hold. Document it, photograph it, and refer it to engineering with the unit's service history. In a unit with known moisture exposure or contamination history, treat it more conservatively.
Contamination without carbonization is a cleaning candidate, provided the equipment-specific instructions authorize field cleaning and specify the approved method and materials. Do not assume any cleaning agent or method is compatible with epoxy bushing materials without that confirmation.
What a Visual Finding Cannot Establish
This is worth a dedicated section because the temptation to act on a visual finding without completing the evidence chain creates as much risk as missing the finding.
A cracked or tracked bushing identified visually requires replacement. What the visual finding cannot tell you is what to replace it with. ABB's technical note on bushing materials establishes that material type is one input into suitability, not the whole answer. A bushing that is the same material, same voltage class, and similar dimensions is not confirmed as a replacement candidate without the approved drawing for that switchgear configuration and manufacturer confirmation of the part number.
Epoxy bushings are often configuration-specific: the mounting interface geometry, the creepage distance, the BIL rating, and the mechanical load ratings are all parameters that must match the application. Getting the material right while getting the configuration wrong is still a failure. Before raising a purchase order or placing an RFQ, you need the unit-specific instruction book, the approved drawing reference for the bushing, and the manufacturer's confirmed replacement part number. In some cases, the switchgear OEM must be involved in the disposition, particularly if the unit is under warranty or subject to a service agreement.
Evidence and Documentation for RFQ and Replacement Decisions
When an inspection finding reaches the engineering review and procurement stage, the following information is required to move forward without ambiguity.
The unit nameplate data: manufacturer, model, serial number, rated voltage, and BIL. The equipment-specific instruction book or its document number. The approved drawing reference for the bushing in question, identifying the exact part number or specification. Photographs of all findings, taken before any cleaning, with a scale reference in frame. A written description of finding location, extent, and orientation for each bushing with a noted condition. The service history context: years in service, known environmental exposures, any prior events (fault currents, moisture intrusion, overloads) that are relevant to the degradation mechanism.
With this evidence set, the engineering disposition is defensible and the procurement action is traceable to a confirmed specification. Without it, a replacement bushing may resolve the visible symptom while leaving a configuration mismatch or an unaddressed root cause.
FAQ
What is epoxy bushing crack inspection?
Epoxy bushing crack inspection is a de-energized visual triage procedure that evaluates the surface and bulk condition of epoxy resin switchgear bushings for cracks, tracking traces, and discoloration. Its purpose is to identify hold conditions and generate documented findings that engineering can act on, not to replace dielectric testing or confirm replacement specifications.
What is the difference between tracking and cracking in a switchgear bushing?
Tracking is a surface failure mode caused by repeated leakage current carbonizing the epoxy along a path from conductor to ground. Cracking is a mechanical and dielectric failure mode caused by stress — thermal, mechanical, or from improper installation — that propagates through the bulk material. Both are hold conditions when confirmed, but they have different root causes, different propagation risks, and potentially different remediation paths.
What is the correct process for replacing a cracked epoxy bushing?
The correct process starts with the equipment-specific instruction book for the switchgear unit, which governs the inspection, test, and replacement sequence. Replacement requires confirming the approved part number through the unit's drawing and manufacturer documentation. Material type and voltage class are necessary inputs but not sufficient to confirm interchangeability — the full configuration must match the approved specification before an RFQ or installation proceeds.
What is streaked discoloration on an epoxy bushing and how serious is it?
Streaked discoloration is a surface finding that ABB's instruction book identifies alongside tracking and cracking as a condition requiring action. It can indicate thermal stress, UV degradation, or early partial discharge activity without full carbonization. It is an escalation finding that requires engineering review and documentation of service history context; it is not a condition to observe and defer without a formal disposition.
What is the role of the equipment-specific instruction book in bushing inspection?
ABB's instruction book establishes that all inspection, cleaning, test, and replacement actions must follow the equipment-specific instructions for the unit in question. This means findings from a visual inspection cannot be acted on using generic bushing standards alone. The instruction book is the governing document for how a finding is classified, what cleaning is authorized, what testing follows, and what replacement part is acceptable.
LEO Chen
With more than 20 years of industry experience, LEO Chen has worked with major companies on switchgear, transformer components and medium-voltage equipment projects. He contributes practical guidance for engineers and sourcing teams, with a focus on clear selection criteria, application context and the information needed to prepare an informed RFQ. Connect with LEO on LinkedIn.